Skip to main content
Search
Search This Blog
Ruffles And Stuff
Posts
Showing posts from October, 2009
Show all
October 31, 2009
Happy Halloween!
October 29, 2009
Yay for me!
October 27, 2009
Tutorial: Hat and Scarf From Sweater
October 26, 2009
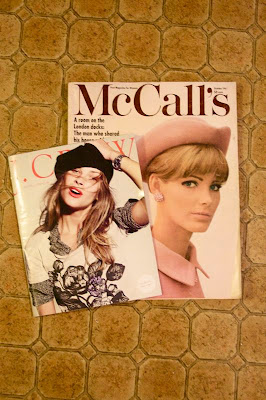
(Magazine)Paper Doll Magnets
October 25, 2009
Do You Want to be Featured on Ruffles and Stuff?
October 24, 2009
(Tutorial) Tree Circles Pillow
October 24, 2009
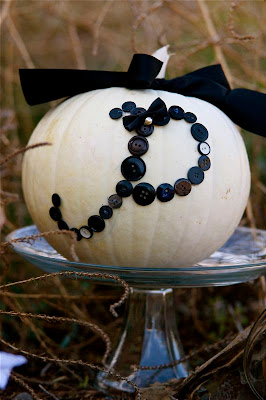
Buttons, Thanks, and Lady Monsters!
October 22, 2009
Tutorial: Cheaters Guide to a Fancy Dress!
October 21, 2009
Food Allergies
October 20, 2009
Ugly Candles and the 1940's
October 19, 2009
Tutorial: Easy No-Sew Flutter Cape With Armholes
Newer Posts
Older Posts
Home